Prompt to model

Discover what hitem3d examples free can create

hitem3d examples free show how a clear idea can become a useful 3D starting point. Browse the prompts below, then try your own variation.

Free to start · no signup
AI-generated 3D model examples arranged in a bright studio scene

Prompt library

What this scenario must deliver

Each card pairs a finished example with the exact prompt format behind it, so you can study the subject, style, and useful level of detail before writing your own.

prompts.log
  1. 1
    A friendly low-poly fox mascot, seated, rounded proportions, clean studio lighting, neutral background.
    Text-to-3D Character concept · stylized asset
  2. 2
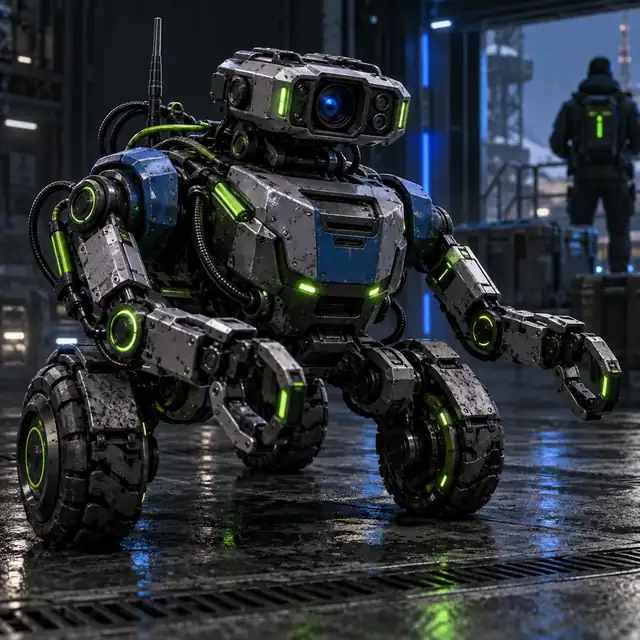
    A compact sci-fi rover with chunky wheels, a low center of gravity, readable mechanical details, three-quarter view.
    Text-to-3D Vehicle concept · three-quarter view
  3. 3
    A small fantasy shrine on a stone base, carved wood, hanging lanterns, warm colors, stylized game asset.
    Text-to-3D Environment prop · stylized asset
Stylized 3D character example 1 Character
Small science-fiction vehicle example 2 Vehicle
Fantasy shrine 3D example 3 Prop

Keep the subject stable, then change one detail at a time: material, pose, scale, or setting.

Practical uses

Each item

The best examples begin with a real job to do. Choose the workflow that matches your goal, then use the linked guide for the next step.

Character designer

You need a mascot, creature, hero, or collectible figure from a short brief.

Start with a silhouette, pose, expression, and style reference; the result becomes a visual direction for iteration.

hitem3d ai-powered 3d model generator

Maker

You want a physical object or simple figurine to inspect before preparing it for a printer.

Use a simple shape and clear base so the free example is easier to evaluate and revise.

hitem3d for 3d printing

Reference-led creator

You have a photo or sketch and want a three-dimensional starting point.

A reference image can provide proportions while your text explains the intended material, pose, or finish.

hitem3d image to 3d

New 3D learner

You are testing prompts and need a low-pressure way to understand the process.

Follow a short repeatable workflow instead of changing several variables in every free attempt.

hitem3d tutorial for beginners

Output reference

Quality bar

A strong example is recognizable at a glance, visually consistent, and specific enough to improve. These outputs show the level of clarity to aim for.

  • Low-poly fox mascot output Readable
    1
    Prompt: friendly low-poly fox mascot, seated, rounded proportions, neutral studio background. Clear silhouette · character focus
  • Compact rover output Specific
    2
    Prompt: compact sci-fi rover with chunky wheels, readable mechanical details, three-quarter view. Defined parts · strong profile
  • Fantasy shrine output Detailed
    3
    Prompt: small fantasy shrine on a stone base, carved wood, hanging lanterns, warm colors. Material cues · prop scale
  • Stylized creature or scene output Adaptable
    4
    Input: one subject, one visual style, one setting, with extra detail added only after the first pass. Controlled iteration

Fix the first pass

Common rework

When an example is close but not useful yet, choose the smallest correction instead of rewriting everything at once.

Choose this when

The silhouette is right but the surface feels noisy

Simplify the prompt and remove decorative adjectives.

A shorter description helps hitem3d preserve the main form before you add texture or ornament.

Choose this when

The object looks generic

Add one distinctive feature, material, or scale cue.

A single memorable detail gives the free example a clearer identity without overloading the model.

Choose this when

The result is intended for printing

Request a stable base and avoid thin, unsupported parts.

Planning for physical handling early reduces the rework needed before a print test.
Workflow evolution

  1. Manual reference boards

    Creators collected sketches, photos, and model references before opening a 3D package. Examples were useful mainly as visual targets.

  2. Prompt-led first passes

    Text descriptions made it possible to explore a character, prop, or scene before committing to detailed manual modeling.

  3. Image guidance joins the workflow

    Reference images added proportion and composition cues, giving hitem3d users another way to define an idea.

  4. Examples become reusable systems

    Creators began saving prompt patterns, changing one variable at a time, and comparing outputs instead of treating every result as a one-off.

  5. From inspiration to iteration

    The strongest free examples are not just images to admire; they are starting points that explain what to try next.

Make your next 3D example

Choose a subject, describe its defining feature, and let hitem3d turn the first idea into something you can inspect and refine.

Generate a 3D model
  • Start with a concrete prompt
  • Change one detail per pass
  • Use the result as a practical reference

Scenario FAQ

Answers to the questions people ask when looking for free examples of 3D modeling and prompt-led workflows.

Yes. Common examples include mascots, creatures, vehicles, fantasy props, small buildings, toys, and display pieces. In hitem3d, each example is most useful when the prompt names the subject, style, pose, and setting.

A useful example has a clear subject, a readable silhouette, and enough detail to show the intended style without becoming confusing. It should also give you a prompt pattern that can be adapted to another idea.

Yes. Keep the structure of the prompt and replace one element, such as the character, material, pose, or environment. Comparing small changes makes it easier to understand which words affect the result.

They are useful starting points, not a guarantee of printability. Before printing, inspect the model for thin parts, unsupported overhangs, disconnected pieces, and a stable base, then prepare it in your normal slicing workflow.

Start creating
Start creating