Product designer
Start with a product photo when you need an early form study before detailed CAD work.
Review proportions and communicate a concept without modeling the first draft from scratch.
try the image conversionhitem3d image to 3d transforms a useful reference photo into a starting 3D asset. Upload an image, describe the result you need, and continue refining the generated model.
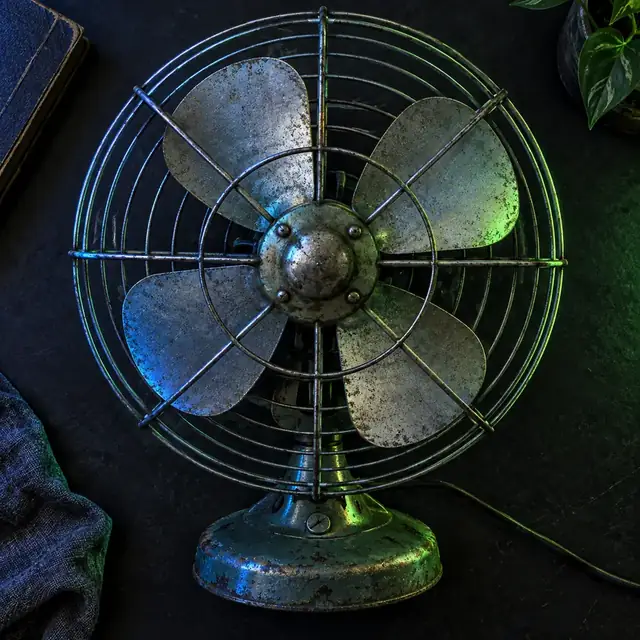
Image-to-3D is an input-to-output workflow: the source is a visual reference, while the result is a navigable model that can be inspected, edited, or reused.
Input
Source image
A photo, render, or clear visual reference
3D model
Generated geometry based on the reference
Viewing
Source image
Flat, fixed perspective
3D model
Orbit, zoom, and inspect from multiple angles
Shape information
Source image
Visible contours and surface cues
3D model
Interpreted volume, silhouette, and structure
Best starting point
Source image
Simple subject with clear separation from its background
3D model
A recognizable base asset ready for refinement
Typical use
Source image
Reference for an object, character, or product
3D model
Concept scene, prototype, asset library, or print preparation
Next step
Source image
Improve lighting, framing, and subject visibility
3D model
Check proportions, clean details, and export for the intended workflow
Moving from A to B removes the need to build every form from an empty scene. The image supplies visual direction, while the model provides a flexible object to inspect and develop.
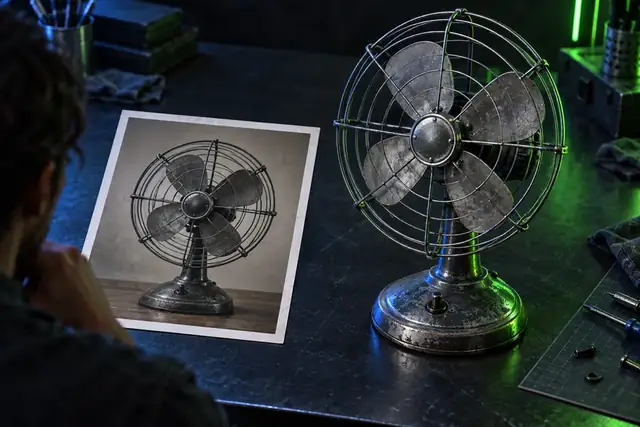 Reference
3D output
Reference
3D output
Drag the divider to compare the source and generated result.
Reference3D outputDifferent creators start with the same conversion but need different outcomes. Use a clear reference, state the intended result, and let the first model become a practical foundation.
Start with a product photo when you need an early form study before detailed CAD work.
Review proportions and communicate a concept without modeling the first draft from scratch.
try the image conversionConvert a prop or creature reference into a rough asset for a scene blockout.
Explore composition and silhouette sooner, then polish the asset in your preferred tool.
create a game assetUse a well-lit object photo as the basis for a printable concept model.
Begin with recognizable geometry and inspect the result before preparing it for fabrication.
start a printable modelTurn a visual example into a model that can be rotated and discussed in class.
Make spatial relationships easier to explain while keeping the lesson focused on the subject.
convert a reference imageBring a clear image and a specific outcome to Hitem3d. The conversion gives you a model to inspect, revise, and carry into the next stage of your creative workflow.
Convert my imageA photo can be used as the visual input for an image-to-3D workflow. Upload a clear reference, describe the object or style you want, and review the generated model from multiple angles rather than treating the original flat image as the final result.
Use a sharp image where the main subject is easy to distinguish from its background. Even lighting, visible edges, and a simple composition give Hitem3d stronger visual cues than a crowded, blurry, or heavily obstructed reference.
The generated result is best treated as a starting asset, not a guaranteed final mesh. Inspect its proportions and details, then refine it in a compatible 3D workflow when you need production-level topology, materials, or scene setup.
It can help you move from a visual idea to an editable starting model for print preparation. Before fabrication, check wall thickness, manifold geometry, scale, supports, and other requirements in your chosen printing workflow.