Beginner guide

A clear hitem3d tutorial for beginners

This hitem3d tutorial for beginners takes you from a simple idea to a usable first 3D model. You will learn what to prepare, what to enter, how to review the result, and how to correct a weak generation.

Free to start · no signup
Beginner workflow for creating a 3D model with Hitem3d

Numbered steps

Use this three-part sequence for a calm first session: describe one object, inspect the output, then refine only the part that needs attention.

  1. 1

    Define one object

    Choose a subject with a clear silhouette, such as a mug, toy vehicle, simple lamp, or low-detail animal. State the object first, then add the style, major parts, and intended use.

  2. 2

    Generate and inspect

    Submit the description and view the model from several angles. Check whether the main shape is complete, whether the details are attached, and whether the result matches the words you used.

  3. 3

    Refine one variable

    Change one instruction at a time, such as proportions, surface style, or a missing feature. Compare the next result with the first instead of judging both against an imagined perfect model.

Prerequisites

You do not need previous 3D software experience, but a few decisions before generation make the tutorial much easier to follow.

You must have

Without every one of these the route does not run.

  • One object for the first exercise rather than a full room, group, or complex character

    A single subject makes errors easier to spot.

  • A short description covering object, style, and two or three important features

    Write concrete nouns before decorative adjectives.

  • A reason for making the model, such as a concept, animation test, game asset, or print study

    The intended use affects what you should inspect.

  • A few minutes to compare the first output with the original description

    Do not accept a result only because it looks interesting.

Nice to have

Skip any of these and the route still works — they only make it faster.

  • A way to view or edit the exported model if you need precise cleanup

    An external 3D editor is optional for a first visual test.

Numbered steps

Once the basic flow makes sense, these related guides help you choose the right next route for a model, image, or beginner project.

Common errors and fixes

A generated model can look convincing in one view and still fail your goal. Treat these limitations as inspection prompts, not as reasons to hide weak results.

It cannot infer an unstated design

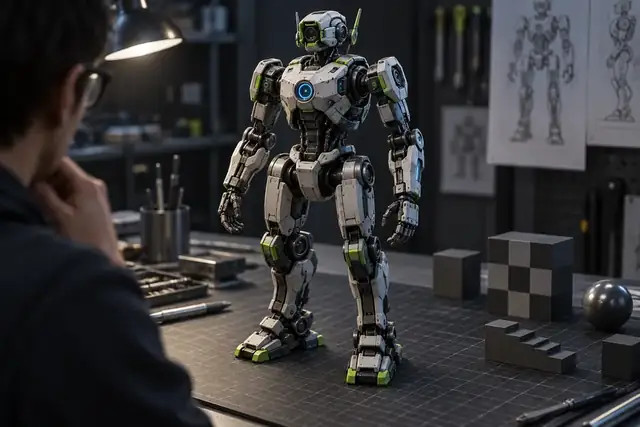
If the prompt says only “a robot,” the result may choose proportions, attachments, and materials you did not intend.

Workaround

Name the body shape, major parts, pose, style, and one or two details that must be present.
It may merge small features

Thin handles, antennae, fingers, straps, and similar details can be simplified, misplaced, or fused into the main body.

Workaround

Make the feature larger or more prominent in the description, then inspect it from multiple angles.

It does not guarantee production-ready geometry

A model that looks correct in a preview may still contain intersections, thin walls, holes, or proportions unsuitable for its final use.

Workaround

Open important outputs in a 3D editor and check scale, topology, normals, thickness, and manifold condition.

One generation is not a finished design process

The first result may capture the broad idea while missing the exact character, balance, or surface treatment you wanted.

Workaround

Keep the successful parts of the prompt and revise one weakness at a time.

Common errors and fixes

Think of the tutorial as a progression from broad shape to controlled revision. These milestones describe how a beginner workflow usually develops without promising a fixed result.

  1. The idea becomes a brief

    The maker turns a vague concept into a subject, style, and short list of visible features.

  2. The silhouette is tested

    The first model answers the basic question: does the overall form resemble the intended object?

  3. The prompt becomes specific

    The maker identifies one missing or incorrect feature and adds clearer wording instead of rewriting everything.

  4. The model meets its purpose

    The output is judged against its use as a concept, editable asset, animation starting point, or possible print candidate.

  5. Cleanup is separated from generation

    Precise fixes are handled in an appropriate 3D tool when the model needs dimensions, topology, or surface corrections.

Advanced tips

Use the same beginner workflow differently depending on what you want from the model. The best prompt for a visual concept is not always the best prompt for editing or fabrication.

Optimize for a readable silhouette

For a concept model, prioritize the overall shape and visual identity. Keep the prompt compact, describe the viewpoint or style when it matters, and avoid adding technical requirements that you cannot verify yet.

Start with one recognizable object.
Name the dominant shape before surface details.
Compare the model from front, side, and rear views.
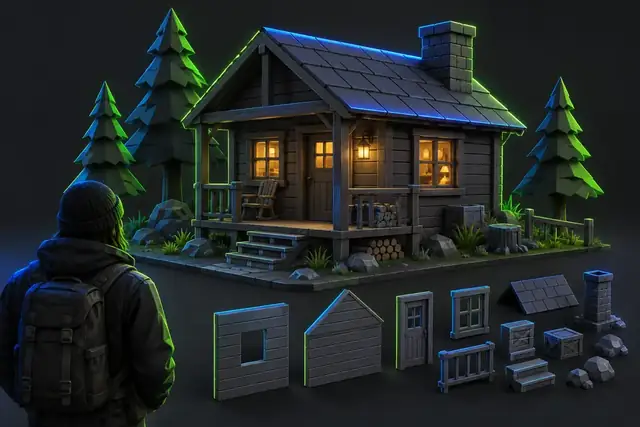
Stylized 3D cabin concept

Leave room for a cleanup pass

If you plan to continue in a 3D editor, use the generated output as a foundation rather than assuming every edge is final. Record what is useful and list the changes needed before opening the file.

Check proportions before adding detail.
Look for intersections and disconnected parts.
Keep a clean first version before making edits.
Detailed 3D robot model for inspection

Review form before fabrication

A model intended for physical output needs more scrutiny than a model used only for a picture. Check wall thickness, overhangs, scale, support needs, and whether small details will survive the chosen process.

Confirm the intended real-world dimensions.
Inspect thin parts and enclosed areas.
Use a dedicated preparation workflow before printing.
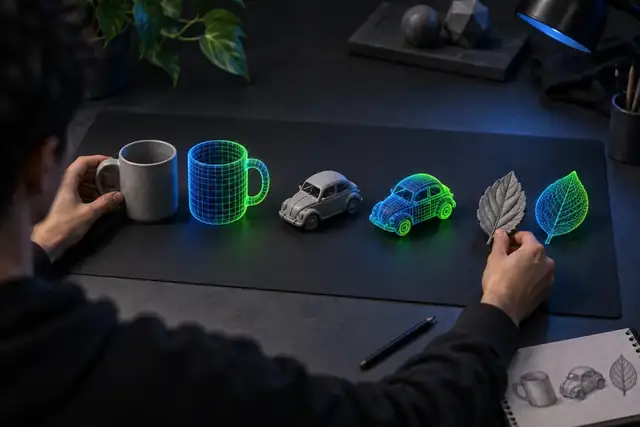
3D model prepared for a print review

Advanced tips

Make your first Hitem3d workflow practical

Start with one well-defined object, use the first output as evidence, and improve only the weakest part of the result. When you are ready to test your own idea, send a concise prompt into the generation workflow.

Generate a 3D model
  • Describe one object before attempting a full scene.
  • Review the silhouette and details from several angles.
  • Use an editor for precise cleanup and production checks.

Tutorial FAQ

These answers address the beginner questions implied by searches for a hitem3d tutorial for beginners and how to use Hitem3d for beginners.

Begin with one clearly defined object and describe its shape, style, and most important features. Generate a first result, inspect it from several angles, then revise one part of the description at a time.

Name the object first, followed by its broad form, visual style, and two or three details that must be visible. A prompt such as “a small stylized desk lamp with a round base, curved neck, and cone-shaped shade” is easier to evaluate than a long list of unrelated adjectives.

No previous modeling experience is needed to follow the basic generation and review flow. You may need a separate 3D editor later if the model requires exact dimensions, topology changes, or production cleanup.

The prompt may leave the subject, proportions, or key features open to interpretation, or the generated result may simplify small parts. Make the description more concrete, change one variable, and compare the new output with the first version.

A beginner can use the result as a starting point for a print study, but visual quality alone does not prove that a model is printable. Check scale, wall thickness, overhangs, intersections, and manifold geometry in a suitable preparation workflow.

Start creating
Start creating