Use hitem3d for 3d printing with fewer failed starts
Hitem3d for 3d printing helps you move from a written idea or reference image to a model concept you can inspect, refine, and prepare for fabrication. Start with a specific object, not a vague wish.
Where it helps
The scenario's pain: a printable idea is harder than it sounds
A good printed object needs more than an attractive shape. These common scenarios show where an AI-generated starting point can reduce repetitive modeling work while leaving final checks to you.
Home makers
You need a replacement bracket, hook, spacer, or organizer but cannot find the right dimensions in an existing library.
Describe the purpose and key measurements first, then use the generated shape as a starting point for fit checks and edits. For a visual workflow, see hitem3d blender.
You want several early form studies before investing time in clean topology, detailed CAD, or a production-ready mesh.
Generate contrasting concepts quickly, compare their silhouette and proportions, and carry the strongest direction into a more controlled modeling workflow. The hitem3d blender page covers one route for continuing that work.
You need a creature, prop, token, or display piece that fits a particular theme and can be adjusted for scale.
Use a precise prompt for the overall pose and identity, then check thin parts, supports, and the base before exporting or slicing. See hitem3d blender for a possible refinement handoff.
You want a fast demonstration object or a small custom part without teaching a full modeling package first.
Turn a classroom or workshop brief into a visible model concept, explain what still needs inspection, and iterate with students before making a physical sample.
Choose the route that matches the information you already have. In every case, the generated model is a starting point that should be checked against the intended printer, material, and use.
Prompt-to-model
Image-to-model
Best starting input
Prompt-to-model
A written description of the object's purpose, form, and important measurements.
Image-to-model
A clear reference image showing the object's visible shape and proportions.
Useful for
Prompt-to-model
New concepts, replacement parts, organizers, props, and simple functional forms.
Image-to-model
Recreating a visible object, mascot, ornament, figurine, or recognizable design.
Camera angle, silhouette, visible details, scale reference, and which hidden areas may be inferred.
Main limitation
Prompt-to-model
The result may look right while missing a critical fit, tolerance, or mechanical detail.
Image-to-model
A single image cannot reliably show hidden geometry, depth, internal structure, or exact dimensions.
First inspection
Prompt-to-model
Check proportions, closed surfaces, thin features, and whether the base sits flat.
Image-to-model
Check reconstructed depth, occluded areas, underside geometry, and the likeness from other angles.
Best next step
Prompt-to-model
Revise the prompt with one measurable correction, then export for cleanup or slicing.
Image-to-model
Add more references or remodel uncertain areas before treating the result as a faithful copy.
Simple handoff
Example output: from prompt to physical object
A practical workflow separates idea generation from print preparation. That keeps the first pass fast without confusing a promising mesh with a guaranteed successful print.
1
Describe the object
State what the part is for, its approximate dimensions, the surfaces that must stay flat, and any holes, handles, joints, or repeated features.
2
Inspect and refine
Rotate the model and look for floating pieces, fragile tips, blocked openings, uneven bases, and proportions that do not match the intended use. Revise one issue at a time.
3
Prepare the fabrication
Move the selected concept into your normal cleanup and slicing process. Set scale, orientation, supports, walls, infill, and material settings there rather than assuming the first mesh is ready.
Continue the workflow
Compliance notes before you print
These related pages cover the next decisions around the tool, its inputs, and its broader modeling workflow. Each link has a different job in the research path.
The strongest prompts describe function, geometry, and constraints together. Use these examples as starting language, then replace the object, dimensions, and details with your own requirements.
prompts.log
1
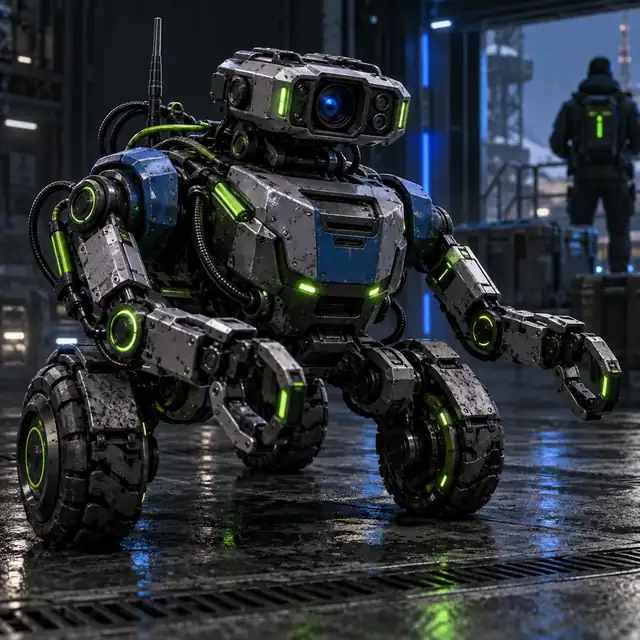
>A compact exploration rover with four chunky wheels, a boxy sensor body, a front camera mast, rounded corners, and a flat display base
Functional conceptCheck wheel clearance and base stability
2
>A small fantasy shrine with a tiered roof, recessed doorway, broad flat base, chunky carved trim, and simplified details suitable for a display model
Display modelInspect roof overhangs and thin trim
3
>A stylized seated corgi figurine with oversized ears, a broad stable base, simplified paws, rounded forms, and no fragile projecting details
Figurine conceptCheck ears, paws, and support needs
1Rover2Shrine3Figurine
Make one change per iteration: dimensions, base shape, openings, or detail level, rather than rewriting every constraint at once.
Make the first pass
Turn a print idea into a model concept
Describe the object, review the geometry, and carry the strongest result into your own preparation workflow. Hitem3d can shorten the distance between a rough idea and something you can test in your hands.
ChatGPT can help write prompts, plan dimensions, and describe modeling steps, but it is not automatically the same as a dedicated 3D model generator. A tool such as hitem3d can be used for the model-generation stage, followed by inspection, cleanup, scaling, and slicing before printing.
Not necessarily. A generated mesh may need repairs, scale checks, orientation changes, support planning, or edits to thin and moving parts. Treat each result as a model concept until it passes your normal slicer preview and physical-use checks.
Describe the object's purpose, approximate size, stable surfaces, openings, wall or feature thickness, and any details that must remain recognizable. Also mention whether it is a functional part, display piece, figurine, or prop so the form can follow the intended use.
Yes, an image can provide a useful visual reference for shape, proportions, or surface identity. A single photo cannot reveal every hidden dimension, so add measurements or more views when fit and accuracy matter.
Review the scale, closed surfaces, wall thickness, unsupported overhangs, tiny details, flat contact areas, and moving clearances. Then inspect the slicer preview for supports, bridges, infill, and layer-by-layer problems before committing material.